Australia
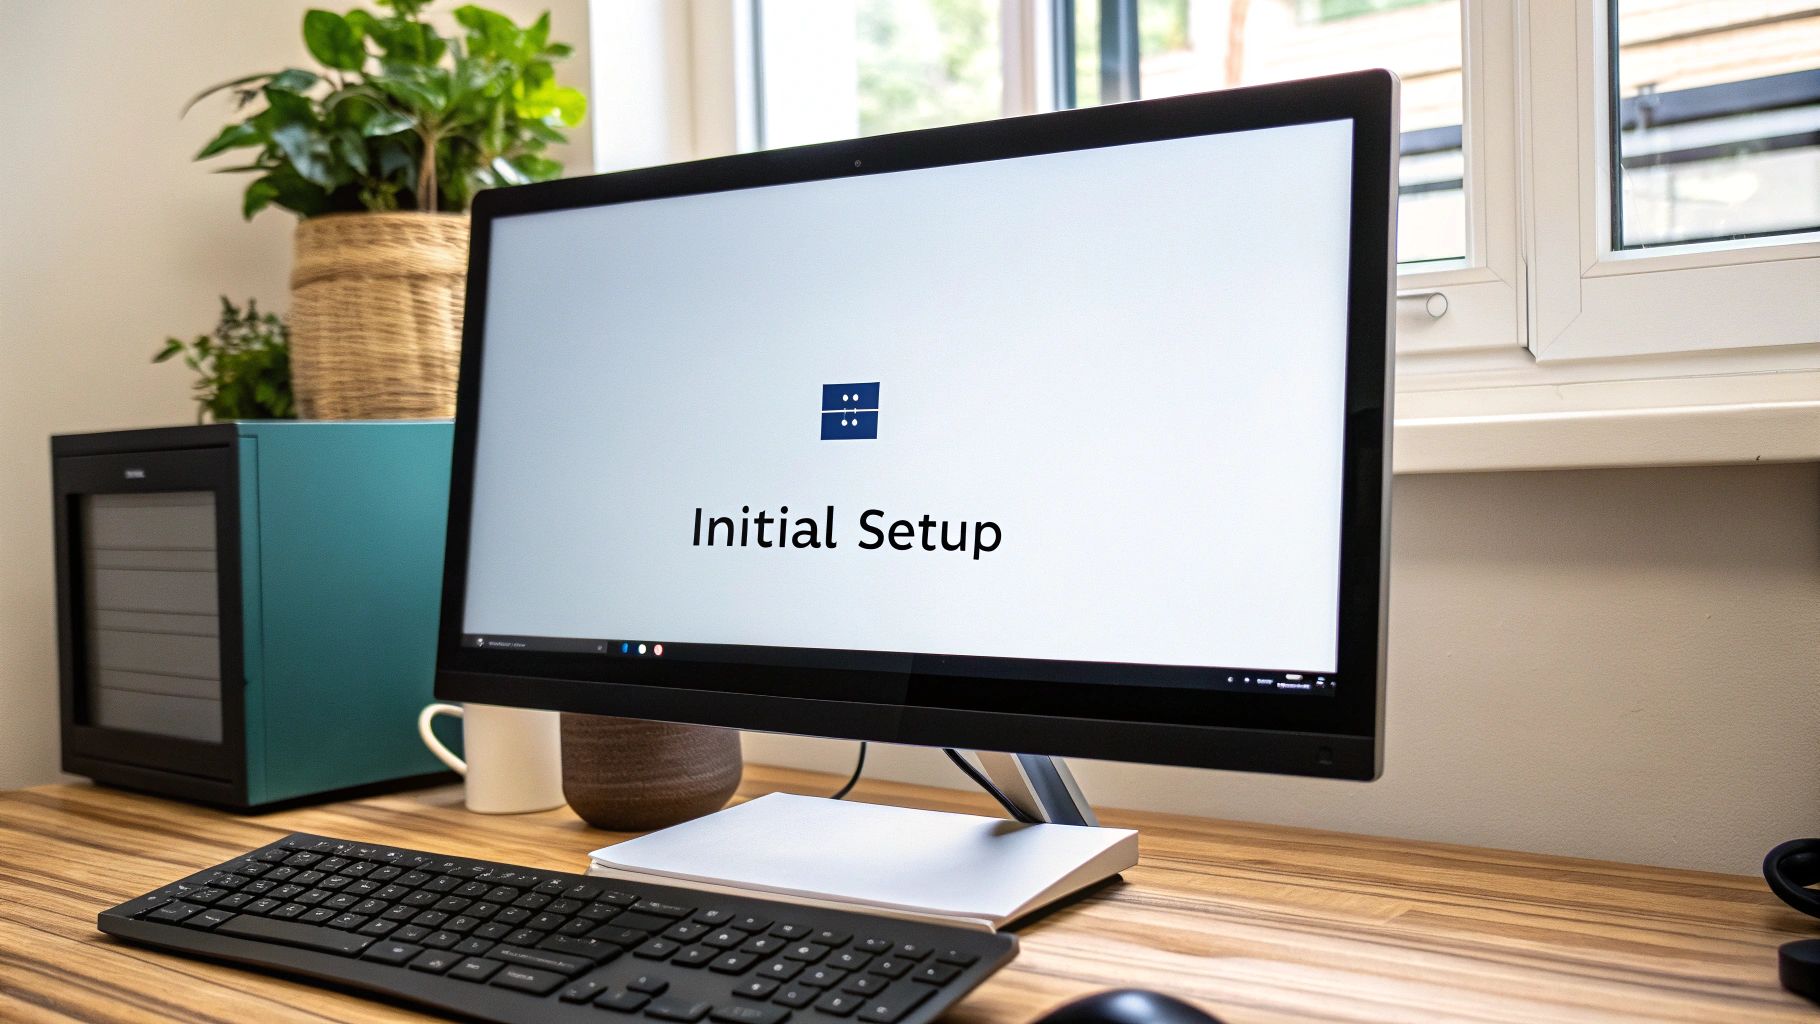
Before you even think about how to install Windows 11, the first and most critical step is to make sure your computer can actually handle it. This isn't just about having enough RAM or a fast processor; it’s about meeting specific security standards that Microsoft has put in place. A smooth installation always begins with confirming your hardware is up to the task.
Is Your PC Ready for Windows 11?
Jumping into the installation without checking compatibility is a recipe for frustration. With Windows 11, Microsoft introduced much stricter hardware requirements, mainly to boost security. This move caught many Australians by surprise, as they discovered their seemingly capable PCs weren't quite ready to go.
The simplest way to get a straight answer is to use Microsoft’s official PC Health Check tool. It’s a free download that scans your system and gives you a clear, easy-to-read report on whether your machine makes the cut.
To give you a quick overview, here are the baseline specs you'll need.
Windows 11 Minimum System Requirements
| Component | Minimum Requirement |
|---|---|
| Processor | 1 GHz or faster with 2 or more cores on a compatible 64-bit processor or System on a Chip (SoC) |
| RAM | 4 GB |
| Storage | 64 GB or larger storage device |
| System Firmware | UEFI, Secure Boot capable |
| TPM | Trusted Platform Module (TPM) version 2.0 |
| Graphics Card | Compatible with DirectX 12 or later with WDDM 2.0 driver |
| Display | High definition (720p) display that is greater than 9” diagonally, 8 bits per colour channel |
| Internet Connection | Microsoft account and internet connectivity required for setup for Windows 11 Home |
These requirements ensure that the core security and performance features of Windows 11 can run effectively on your machine.
The Key Hurdles: TPM 2.0 and Secure Boot
If the PC Health Check tool flags a problem, it’s almost always down to two specific security features: Trusted Platform Module (TPM) 2.0 and Secure Boot. The names might sound technical, but their job is simple: to protect your PC from nasty malware and rootkits right from the moment you press the power button.
- Trusted Platform Module (TPM) 2.0: This is a small security chip built into your motherboard. It handles hardware-based security tasks, like protecting your encryption keys and login details, making it much tougher for someone to compromise your system.
- Secure Boot: This is a feature in your computer’s firmware (UEFI) that checks for a digital signature on your operating system before it loads. It acts like a bouncer, making sure only trusted software gets to start up when you boot your PC.
Here's the thing: most modern PCs built in the last five or six years already have these features. They're just often switched off by default in the system’s BIOS or UEFI settings.
Enabling them is usually pretty straightforward. You'll need to restart your computer and press a specific key as it boots up (commonly Del, F2, F10, or Esc) to get into the BIOS/UEFI menu. From there, look for a "Security" or "Boot" tab where you should find options to enable both TPM and Secure Boot.
A bit of preparation goes a long way. Spending ten minutes checking your BIOS settings now can save you hours of headaches during the installation. It’s a simple check that turns a potential showstopper into a minor tweak.
This push for tighter security reflects a wider trend. As more people make the switch, Windows 11 has become the dominant desktop OS in Australia, now holding around 58.79% of the market share. This massive uptake shows a clear national shift towards a more secure computing environment, especially with Windows 10 support winding down.
For those running older or custom-built PCs, you might find your hardware genuinely doesn't support TPM 2.0. If that's the case, an official installation will likely require a motherboard upgrade. Making the right hardware and software choices is crucial, and you can learn more about how to upgrade your PC right with secure software keys.
Preparing Your System for a Flawless Installation
Alright, so you’ve confirmed your PC is ready for the big jump to Windows 11. What’s next? Well, before you dive headfirst into the installation, we need to talk about prep work. Jumping in without a plan is like starting a road trip without checking your tyres; you might get there, but you're setting yourself up for a lot of unnecessary hassle.
A little bit of groundwork now will make the main event of installing Windows 11 a smooth and painless experience.
The absolute first thing on your list? Back up your data. Seriously, this isn't just a friendly suggestion—it's non-negotiable. Even if you're planning an in-place upgrade that promises to keep your files, things can and do go wrong. Just think about your family photos, crucial work documents, and project files. Losing them simply isn’t worth the risk.
Secure Your Important Files
Backing up doesn't have to be a complicated chore. For most people in Australia, you have a couple of straightforward options that work perfectly.
- Cloud Storage: If you're already using services like OneDrive, Google Drive, or Dropbox for your documents and photos, you're halfway there. Just double-check that everything important has finished syncing before you start the install.
- External Drive: For a full backup or for larger files, a simple external hard drive or a high-capacity USB stick is your best friend. It’s as easy as dragging and dropping your most critical folders—like Desktop, Documents, Pictures, and Music—right onto the drive.
Once your files are safely copied, it’s a great time to tidy up your current system. Over years of use, computers collect a lot of digital clutter. Getting rid of old, unused software not only frees up valuable disk space but can also prevent weird conflicts during the installation. It’s like clearing out a room before you start painting; it just makes the whole job cleaner and easier.
Take this as an opportunity to do some digital spring cleaning. Starting the installation with a leaner, cleaner system often leads to a more stable and responsive Windows 11 experience right from day one.
Gather Your Essential Drivers
One of the most common headaches I see after a fresh install is having no internet. This usually happens because Windows didn't automatically find and install the right network driver. To avoid that frustrating scenario, you need to be proactive.
Before you begin the installation, head over to your PC or motherboard manufacturer's website and download the latest drivers for Windows 11.
Focus on grabbing these key drivers:
- Network/Wi-Fi Driver: This is the most critical one. Without it, you can't get online to download anything else you might need.
- Graphics Driver: Until you install this, your display might look stretched or stuck in a low resolution.
- Chipset Drivers: These are vital for making sure all the components on your motherboard can talk to each other correctly.
Save these driver files to the same external drive you used for your backup. That way, if you find yourself offline after the installation is complete, you'll have everything you need to get your system fully up and running. Trust me, this little bit of prep work is a massive time-saver.
As you're getting everything ready, it’s also a good moment to make sure your software licenses are in order. If you need guidance, check out our guide to buying authentic software keys online to help you make secure and reliable choices.
Creating Your Windows 11 Installation Media
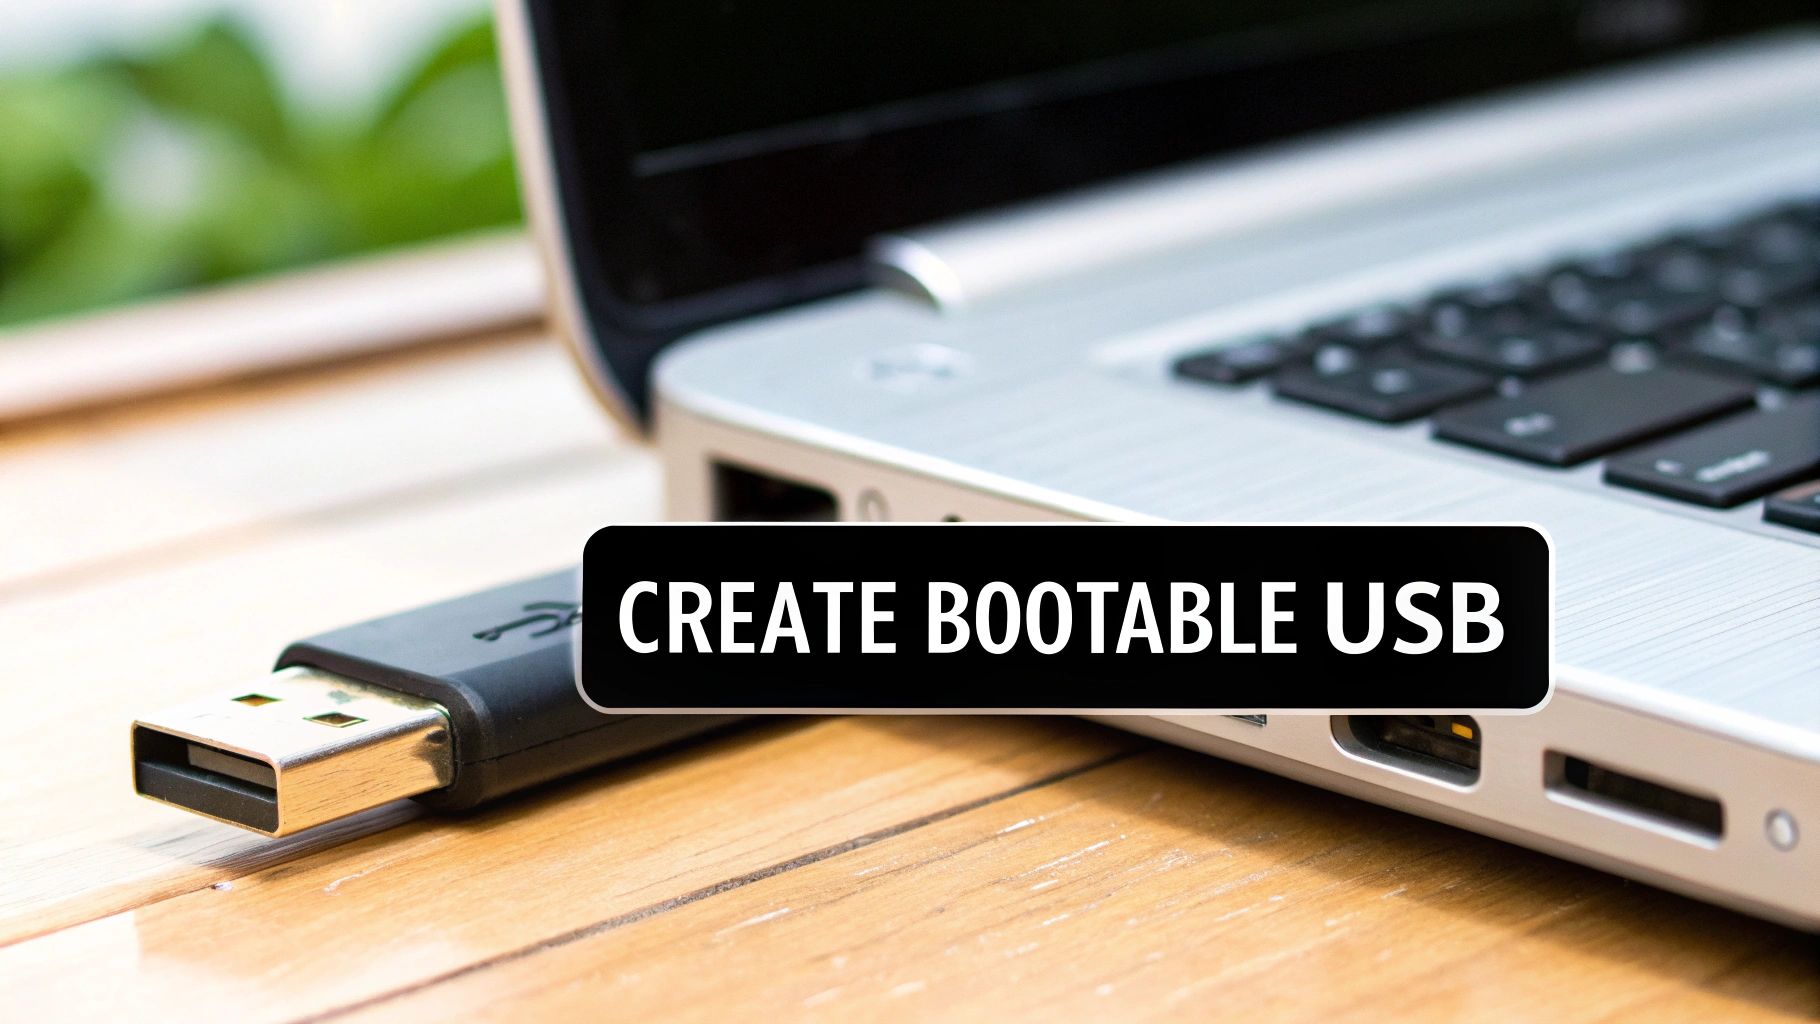
Alright, with your system prepped and ready to go, it’s time to forge the most important tool for this job: your bootable installation media. This might sound a bit technical, but trust me, Microsoft has made this process incredibly straightforward. You won't need any third-party software or magical incantations.
The easiest and most common way to do this is with a USB flash drive. It’s fast, reliable, and you can use it again later for something else. All you need is a blank USB stick with at least 8GB of space. Just a heads-up: this process will completely wipe the drive, so if you’ve got photos or documents on there, back them up first.
Getting it Done with the Media Creation Tool
Microsoft’s official Media Creation Tool is your best mate for this task. It’s a tiny application you grab directly from their Windows 11 download page. Once you fire it up, it walks you through everything, handling the tricky parts like downloading the latest Windows files and setting up the USB correctly.
Here’s a quick rundown of what to expect:
- First, download and run the Media Creation Tool from Microsoft’s website.
- You'll need to accept the licence terms.
- It usually guesses the right language and edition for you, but double-check it.
- When it asks what you want to do, choose "USB flash drive".
- Finally, pick your connected USB drive from the list.
From there, the tool takes over. It'll start downloading all the necessary files and preparing your drive. This can take anywhere from 20 minutes to over an hour, depending on your internet speed, so it's the perfect time to go and make a cuppa. Once it gives you the all-clear, you’ll have a bootable USB ready to install Windows 11.
Think of the Media Creation Tool as a fully automated assistant. It takes all the guesswork out of the equation, ensuring your installation drive is perfectly configured for a smooth boot-up and installation.
What If a USB Drive Isn't an Option?
While a USB stick is the go-to for most people, it’s not the only way. Microsoft also lets you download the Windows 11 ISO file directly. An ISO is basically a digital copy of an installation disc, all packed into a single file.
This comes in handy in a few specific situations:
- Virtual Machines: If you're installing Windows 11 in a virtual environment like VirtualBox or VMware, the ISO file is exactly what you need to mount as a virtual disc.
- DVD Installation: For anyone still rocking a machine with a DVD drive, you can use the ISO file to burn your own bootable DVD. It’s a bit old-school, but it still works.
The strong demand for hardware that can run Windows 11 has been a real boost for the local tech economy. For example, Aussie tech distributors have seen a huge lift. Dicker Data reported a 15.7% revenue jump to AUD 1.8 billion in the first half of fiscal year 2025, driven largely by the sustained demand for Windows 11-ready gear. It really shows how widespread the move to the new OS is across the country.
No matter which method you pick, creating a reliable installer is a crucial first step. It ensures the rest of the process goes off without a hitch. And when you get to the activation stage, we’ve got you covered with a guide on how to get safe and instant software key delivery you can trust.
Your Guide to the Windows 11 Installation
Okay, you've got your bootable USB drive ready to go. Now for the main event. Let's walk through every screen and choice you'll hit during the Windows 11 installation. It's a pretty logical path, but knowing exactly what's coming makes the whole thing feel a lot smoother.
This is a high-level look at the journey ahead, from the first boot-up to the final tweaks.
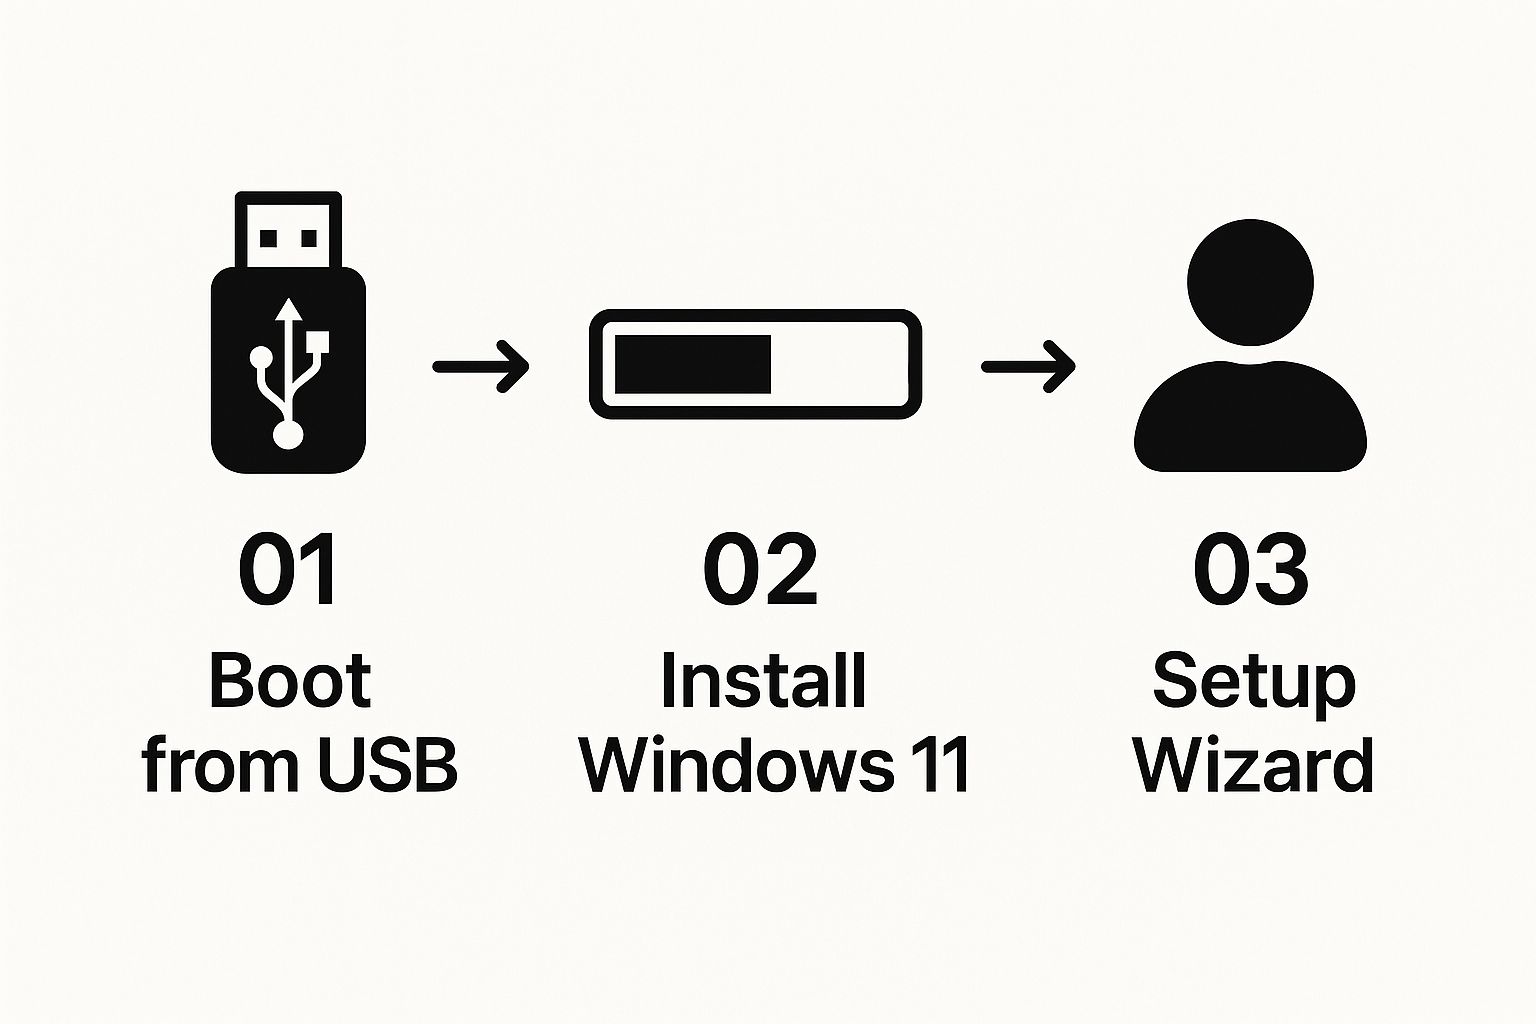
As you can see, it breaks down into three core phases: starting the install, choosing your settings, and then letting the system configure itself. Simple.
Booting From Your USB Drive
The first hurdle—and honestly, the part that trips most people up—is getting your computer to start from the USB drive instead of its usual hard drive. This requires a quick detour into your PC's BIOS or UEFI firmware settings.
To do this, you’ll need to restart your computer and, as it powers on, press a specific key. This is usually Del, F2, F10, or Esc. The right key depends entirely on your motherboard's manufacturer, but it usually flashes on the screen for a second or two right at the start.
Once you’re in, look for a menu called "Boot" or "Boot Order". You'll see a list of devices. All you have to do is find your USB drive and move it to the very top of the list. Save your changes and exit, and your computer will restart, this time booting straight into the Windows 11 installer.
Choosing Your Installation Type
After a couple of initial screens to confirm your language and region, you’ll arrive at the most important decision of the entire process. You need to choose between an Upgrade or a Custom installation.
-
Upgrade Install: This option is designed to keep your personal files, settings, and most of your applications right where they are. It essentially installs Windows 11 over the top of your old operating system. It's a convenient choice if you're coming from Windows 10 and want a seamless transition.
-
Custom (Clean) Install: This is for anyone who wants a completely fresh start. It wipes everything from the drive partition you select, giving you a pristine, clutter-free installation. This is definitely the recommended route for the best performance and to make sure you're not carrying over any old software issues.
For a brand new PC build or if your current system is feeling sluggish or buggy, a Custom installation is almost always the right call. It guarantees you don’t inherit any digital baggage and usually leads to a much more stable system in the long run.
Managing Disk Partitions for a Clean Install
If you went with a Custom install, your next stop is the disk partition manager. This screen shows all the drives connected to your computer and can look a bit intimidating, but for most people, it's very straightforward.
You'll want to select the partition where your old version of Windows was installed (it's often labelled "Primary"). To get that truly fresh start, you’ll need to delete this partition along with any small, related system partitions (you might see ones called "System Reserved" or "Recovery").
After deleting them, you'll be left with a single, large block of "Unallocated Space". Just select that space and click "Next". The Windows installer is smart enough to handle the rest, automatically creating and formatting all the new partitions it needs for Windows 11.
From here on out, the process is pretty much on autopilot. The installer will copy files, install features, and restart your computer a few times. You can just sit back and relax. Depending on your PC's hardware, this can take anywhere from 15 to 45 minutes. Once it's all done, you'll be greeted by the final setup wizard, ready to personalise your new system.
Finalizing Your Setup and Activating Windows
Congratulations, you've made it through the heavy lifting! With Windows 11 now installed on your machine, you're just a few small but crucial steps away from a fully personalised and secure system. Let's walk through this final phase to get your new OS completely dialled in.
The first thing you'll be greeted with is the Out-of-Box Experience (OOBE). This is just Microsoft's friendly setup wizard that guides you through the basics. You'll set essentials like your country (Australia), preferred keyboard layout, and connect to your Wi-Fi network. It’s a straightforward process that tailors Windows to you right from the start.
First Things First: Run Windows Update
Once you finally land on your fresh, new desktop, your very first move should be to check for updates. Seriously, don't skip this. The installation media you used is a snapshot in time and likely won't have the latest security patches or hardware drivers.
Getting this done is simple:
- Open the Settings app (the shortcut is Windows key + I).
- Head over to the Windows Update section.
- Click Check for updates.
Let the system download and install everything it finds. You might need to restart your computer once it’s done, but this is a non-negotiable step. It ensures your PC is secure and that all your components, like your graphics card and peripherals, are working as they should.
Think of this initial update as the final piece of the installation puzzle. It patches any security gaps and ensures your system has the most current drivers for optimal stability and performance.
Activating Your Genuine Windows 11 Key
The final step is activation. An activated copy of Windows 11 unlocks every feature, gets rid of that pesky "Activate Windows" watermark, and guarantees you'll receive all future security updates. For a simple and affordable way to get a genuine product key, Australian users can rely on DigitalHubKey.
Purchasing a key is quick, and once you have it, activating is a breeze.
Just head back into Settings, navigate to System, and then click on the Activation tab. You'll see an option to "Change product key," where you can pop in the key you received.
With Windows 10's end-of-life set for October 14, 2025, moving to a fully activated Windows 11 is more critical than ever for Australian users and businesses. A surprising 20% of global devices are still on Windows 10, meaning a huge number of users will soon be exposed to security risks when official support ends. Making the switch now keeps your system secure and compliant for the years ahead.
Once you’re activated, you can start exploring some of the more advanced features. For instance, if you're running Windows 11 Pro, you can easily enable Remote Desktop for flexible work arrangements.
Troubleshooting Common Installation Issues
Even when you’ve done everything by the book, technology can still throw a curveball. If your Windows 11 installation hits a snag, don't panic. Most issues are surprisingly common and have straightforward fixes that can get you back on track in no time.
The key is to tackle the problem methodically. A random error message feels frustrating, but it’s often just a sign that one specific setting needs a quick tweak. Let's walk through the most frequent roadblocks people face when trying to install Windows 11.
Installer Can't Find Any Drives
One of the most alarming moments is getting to the disk selection screen and seeing… nothing. It's just a blank list where your hard drive or SSD should be. This almost always points to a missing storage controller driver, a common quirk on newer Intel-based laptops and desktops.
Your installation media simply doesn't know how to talk to your modern storage hardware yet.
Here’s how to fix it:
- Grab another device and head to your PC or motherboard manufacturer’s support website.
- Look for the Intel Rapid Storage Technology (IRST) driver that matches your specific model.
- Extract the driver files and copy them onto your Windows 11 installation USB.
- Back on the blank disk selection screen during the installation, click "Load driver" and browse to the files you just added.
Once you load the driver, your drives should appear like magic, ready for you to continue.
Getting Stuck or Freezing During Installation
Another common headache is when the installation process just grinds to a halt. The progress percentage might get stuck for hours, or the whole system could become completely unresponsive. This can happen for a few different reasons, from a faulty USB drive to a conflict with a connected peripheral.
Before you assume the worst, try these simple steps first:
- Be patient for a bit. Sometimes, certain stages can take a lot longer than expected, especially on older hardware. Give it at least an hour before you intervene.
- Disconnect everything non-essential. Unplug any extra monitors, USB hubs, webcams, and external hard drives. A conflicting device is a frequent cause of installation freezes.
- Recreate the installation media. It's possible your USB drive is the culprit. Try using a different USB stick and run the Media Creation Tool again to create a fresh bootable drive.
A clean, simple hardware setup is your best bet for a smooth installation. By removing unnecessary variables like extra peripherals, you eliminate potential points of failure and give the installer a clear path to completion.
If the problem persists, it might point to deeper hardware issues, but these simple troubleshooting steps resolve the vast majority of installation hangs. It's also critical to ensure you're using genuine software, as pirated versions can be unstable and introduce serious security risks. Understanding the true cost of pirated software really highlights why a legitimate copy is always the safer, more reliable choice.
Got Questions? We've Got Answers
Even the most straightforward guide can leave you with a few lingering questions. That's perfectly normal. This section is all about tackling those common queries that pop up right when you're about to get started with your Windows 11 installation.
We've pulled these questions directly from real-world situations to give you practical, no-nonsense answers.
Can I Get Windows 11 on a Machine Without TPM 2.0?
While Microsoft officially requires TPM 2.0 for security reasons, you'll find plenty of unofficial guides online showing how to bypass this check by tweaking the Windows Registry during setup. It's a common workaround for older hardware.
A word of caution, though: this method is completely unsupported by Microsoft. Taking this route could block you from receiving important security updates down the track. We'd only suggest trying this on a personal test machine, never on your main work computer where security is paramount.
Bypassing system requirements like TPM 2.0 can introduce instability and leave your system vulnerable. For the most secure and reliable experience, it's always best to stick with hardware that meets the official specifications.
How Long Will the Windows 11 Installation Take?
This one really depends on the hardware you're working with. It’s a classic tale of two speeds.
- On a modern PC with a speedy SSD (Solid State Drive), you'll be surprised at how fast it is. A clean install can often be wrapped up in as little as 15-20 minutes.
- If you're installing on an older machine with a traditional HDD (Hard Disk Drive), you’ll need a bit more patience. Be prepared for it to take well over an hour.
Don't forget to factor in the time it takes to create the USB installation media. Depending on your internet speed, that part usually adds another 20-30 minutes to the total process.
Will I Lose All My Files if I Upgrade to Windows 11?
This is a critical point, and the answer comes down to which installation path you take.
If you choose the ‘Upgrade’ option during the setup, Windows is designed to keep all your personal files, settings, and most of your installed programs exactly where they are. It’s built for a smooth transition from a compatible version of Windows 10.
However, if you select the ‘Custom’ option for a clean install, it will wipe everything on the drive partition you choose. This is why we can't stress this enough: always back up your important data to an external drive or cloud service before you begin. It's the only guaranteed way to keep your files safe, no matter what happens.
Ready to activate your new operating system? Head over to DigitalHubKey for instant delivery of genuine software keys for Windows 11 and other essential tools. Get your system fully unlocked and secure today by visiting https://digitalhubkey.com.


[…] you're starting from a fresh build, our guide on how to install Windows 11 will get you set up smoothly before you even think about […]
[…] those getting ready to move to a new OS, our guide on https://blogs.digitalhubkey.com/how-to-install-windows-11 offers a complete walkthrough. For IT professionals managing larger-scale operations, understanding […]
[…] older computer to its knees. Make sure your PC meets the minimum system requirements. Our guide on how to install Windows 11 can help you get your OS ready for demanding […]
[…] latest Microsoft OS, it's beneficial to ensure your system is correctly configured; you can find helpful information about setting up Windows 11 to guarantee smooth […]
[…] we jump in, it’s always a good idea to make sure your computer is ready to go; our guide on how to install Windows 11 can help get your PC up to […]