Australia

For anyone just starting out with photography, finding the best photo editing software for beginners feels like searching for that sweet spot between powerful features and genuine ease of use. Big names like Luminar Neo and Adobe Photoshop Elements are often mentioned because they’ve built tools that make tricky edits simple, putting professional-looking results within reach without a massive learning curve.
Your First Step to Stunning Photos
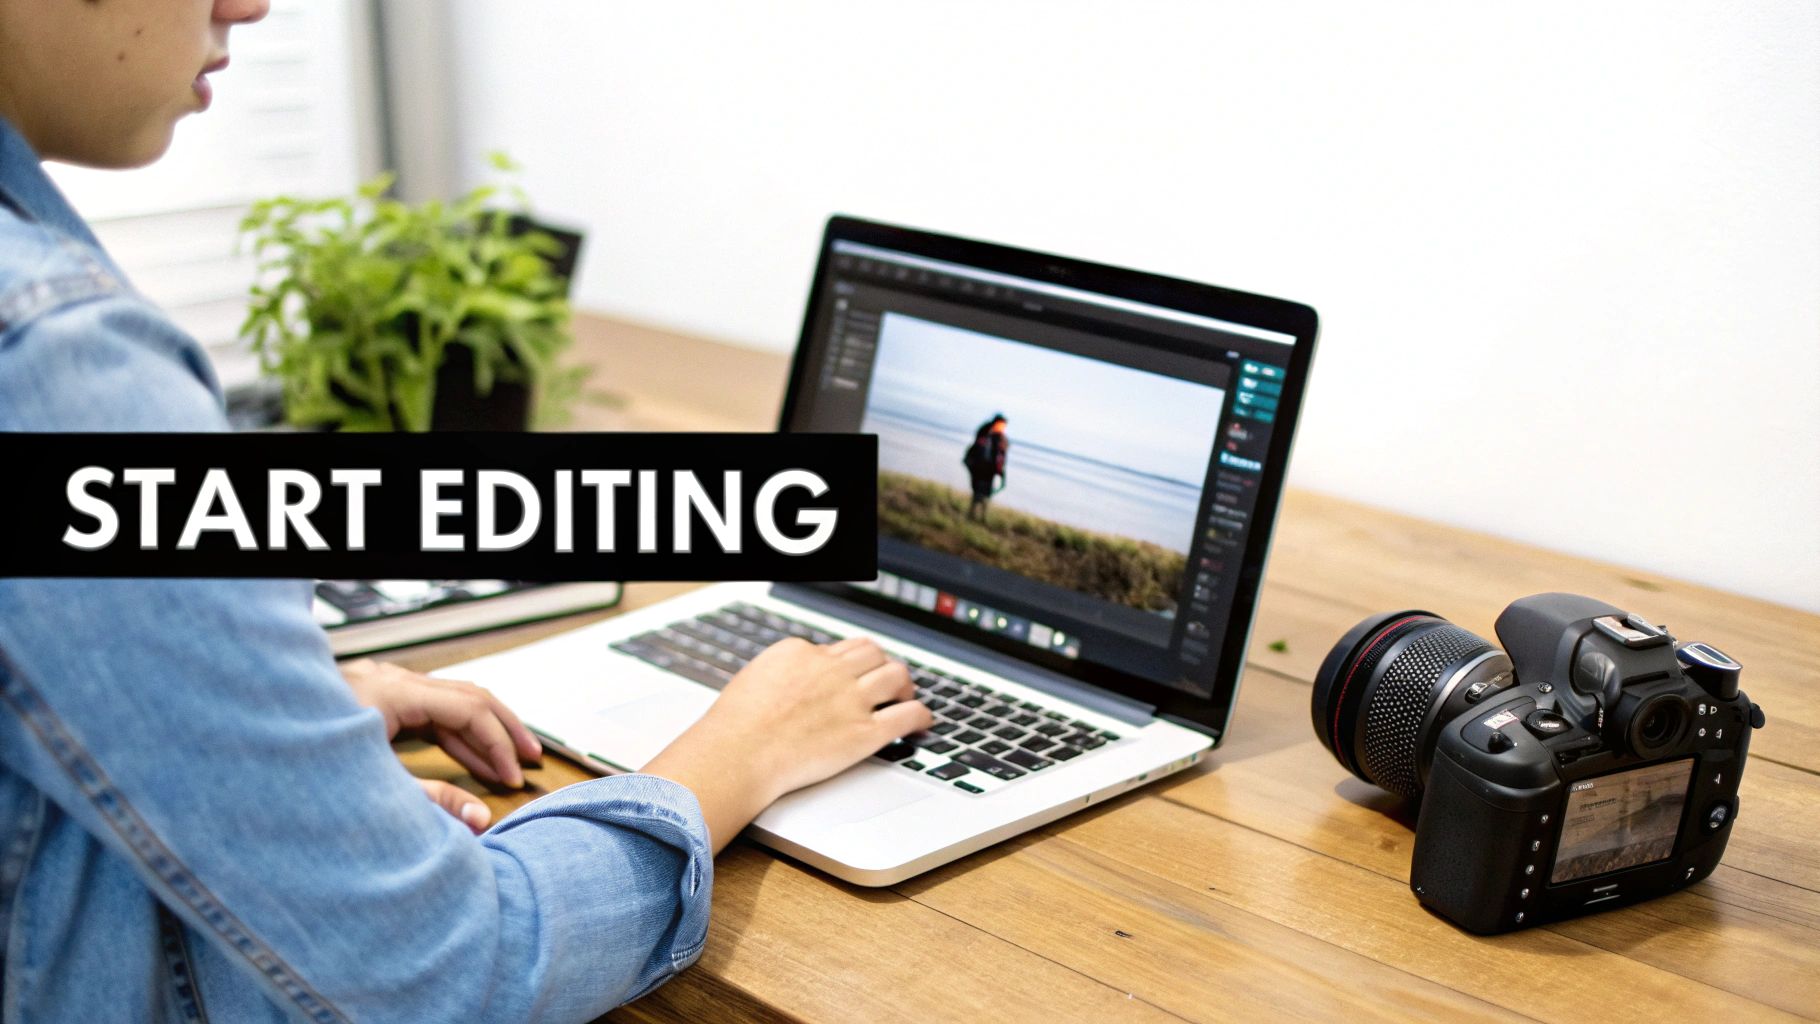
Diving into photo editing for the first time can feel a bit like trying to learn a new language. You open up the software and are hit with a wall of buttons, sliders, and menus. It’s enough to make you feel overwhelmed before you’ve even made a single adjustment.
The secret? You don’t need the most complicated, feature-packed program out there. What you need is the right one for where you are right now.
Think of it like learning to cook. You wouldn't start with a ridiculously complex recipe that takes three days to prepare. You’d pick something simple, with clear instructions that build your confidence and teach you the basics. The best beginner editing software does exactly that, offering clean layouts and helpful guides that get you comfortable with the fundamentals.
The goal is to find a tool that grows with you. It should provide one-click solutions for quick fixes while also offering manual controls you can explore as your skills improve.
This guide is your roadmap. We're going to focus on software that empowers you, not intimidates you. Before we jump in, it’s always a good idea to make sure your computer is ready to go; our guide on how to install Windows 11 can help get your PC up to date.
By picking the right tool from the start, you’ll be on the fast track to turning your favourite snapshots into truly incredible images.
What to Look For in Beginner Photo Editing Software
Jumping into photo editing is exciting, but picking your first tool can feel like trying to navigate a maze. With countless options flashing complex features and industry jargon, it’s easy to get analysis paralysis. The secret is to cut through that noise and focus on what a newcomer actually needs.
The best photo editing software for beginners isn’t the one with the most buttons and dials. It’s the one that just makes sense the moment you open it.
Think of it like learning to drive. You don’t start in a fighter jet cockpit. You need a simple dashboard with the essentials clearly laid out: a steering wheel, an accelerator, and a brake. Everything else is just a distraction. Your first editing software should feel the same—clear, intuitive, and built for learning, not for overwhelming you.
A Clean and Intuitive Interface
The single most important factor is the user interface (UI). A clean, well-organised layout lets you find what you need without a frustrating treasure hunt. You want software that feels natural, where tools are grouped logically and you can see your changes happen in real-time as you move a slider.
If you have to watch a 20-minute tutorial just to figure out how to crop a photo, that’s a massive red flag. A cluttered screen is a roadblock to creativity. Look for programs with minimalist designs or helpful pop-up tips that guide you along.
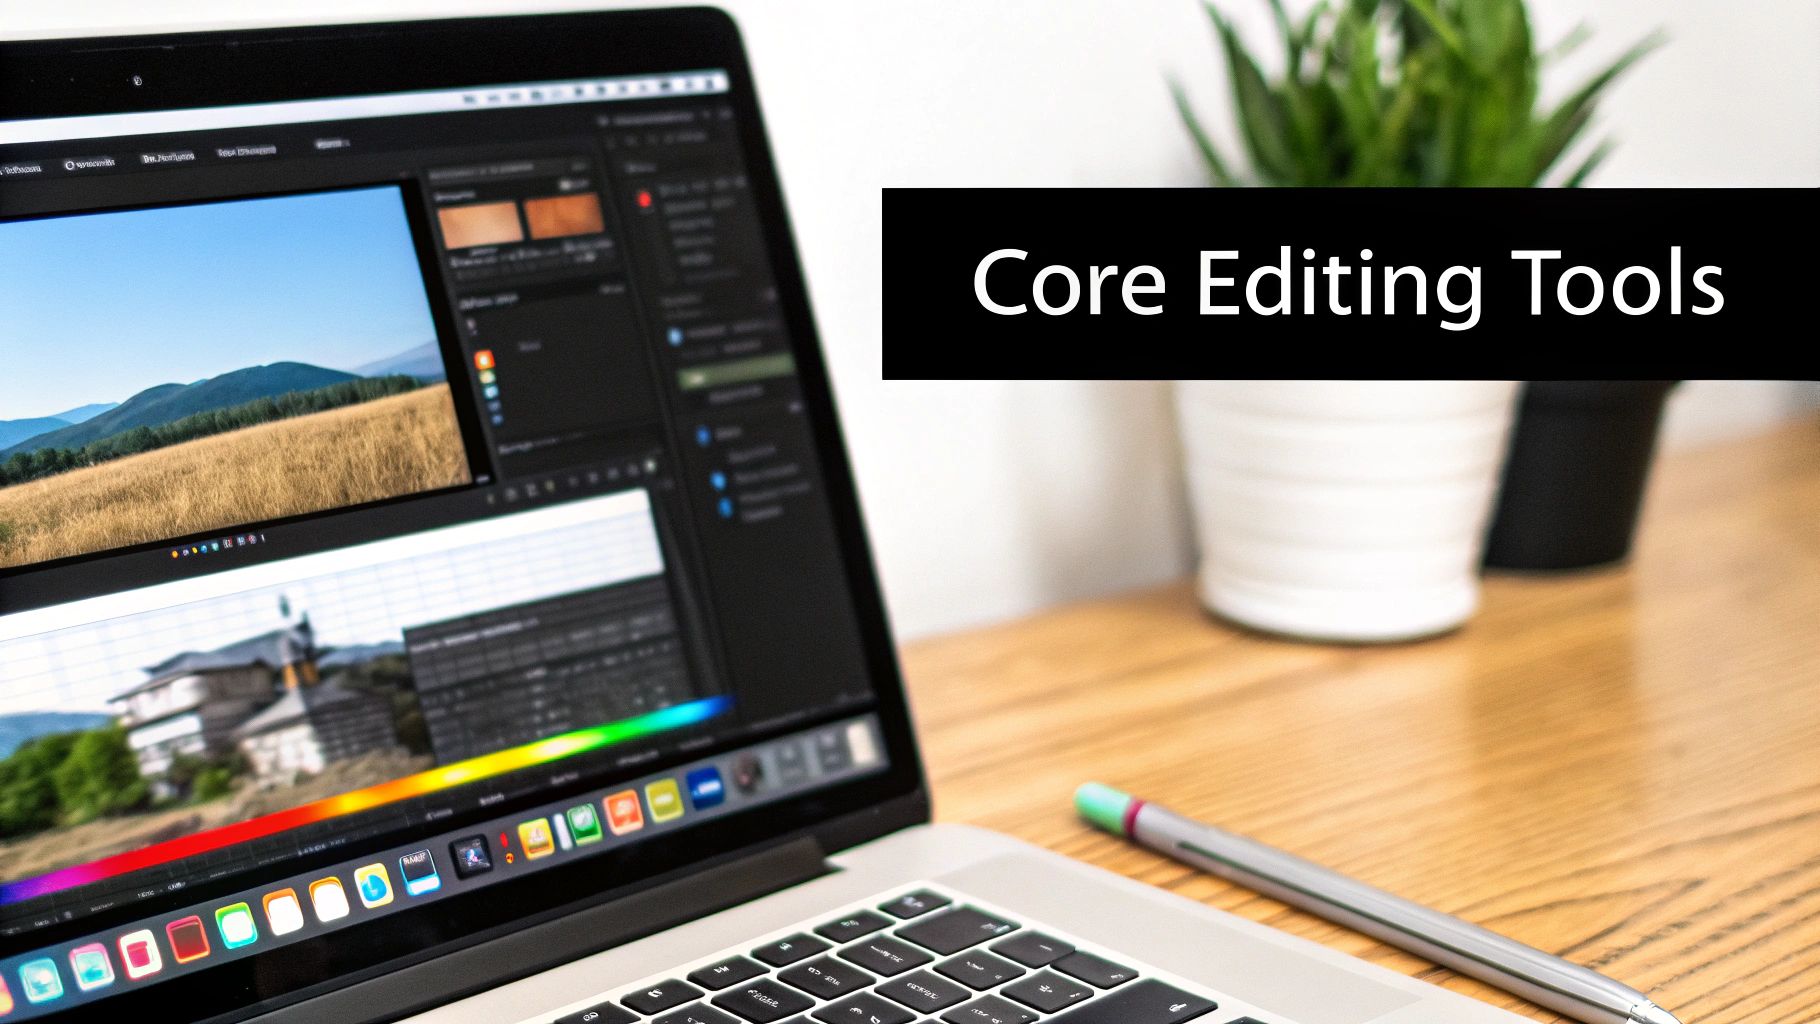
The Essential Toolkit for Beginners
Don't be tempted by software that boasts hundreds of obscure features. Instead, find a program that has absolutely mastered the fundamentals. As a beginner, you’ll be using the same core set of tools for 90% of your edits. Getting good with these is the fastest way to make your photos look dramatically better.
Here’s your non-negotiable checklist for a beginner-friendly toolkit:
- Basic Adjustments: Simple, responsive sliders for exposure (brightness), contrast, highlights, and shadows. These are the absolute building blocks of a great edit.
- Colour Correction: Straightforward tools to fix white balance (to get rid of weird colour casts) and adjust vibrance and saturation to make your colours pop without looking fake.
- Cropping and Straightening: The power to reframe your shot and fix a crooked horizon is essential. This should be quick and painless.
- Simple Retouching: A basic spot healing brush or clone tool is a must-have for zapping distracting dust spots or removing a stray object from the background.
Don’t get distracted by intimidating, pro-level features like frequency separation or luminosity masking. Your first goal is to build a solid foundation. Once you’re confident with the basics, you can start exploring more advanced techniques. If you're also curious about video, we have a similar breakdown in our guide on the best video editing software for beginners.
Top Photo Editing Software For New Creators
Alright, now that we know what to look for, let's get into the good stuff—the software itself. I’ve picked out a handful of programs that are fantastic for creators just starting out. Each one has its own personality and strengths, so my goal here is to help you find the one that just clicks for your creative style.
The Aussie market is buzzing with hobbyists and aspiring pros looking for tools that are powerful but don't require a degree in computer science to use. In fact, this "prosumer" sweet spot is set to make up a massive 44.6% of the global market by 2025. This is great news for beginners, because it means more companies are focused on creating software that delivers stunning results without the intimidating learning curve.
Luminar Neo: The AI-Powered Assistant
Skylum's Luminar Neo has seriously shaken things up by putting ridiculously powerful AI tools into an interface that’s clean, simple, and actually makes sense. If you want dramatic, eye-catching results without getting lost in a hundred different menus, this is your starting point.
Think of it as having a pro editor sitting next to you. Tools like Sky AI and Enhance AI analyse your image and give you a simple slider to apply smart, targeted adjustments. It's a brilliant way to learn because you immediately see what the changes do, helping you train your eye for what makes a great photo.
What really makes it work for newcomers is how it's organised. Everything flows logically from your photo catalogue to presets and then to the detailed edit panel. You’re never left wondering where to go next, which kills that overwhelming feeling you get with a lot of other software.
Key Features for Beginners:
- One-Click AI Tools: Features like Sky AI, Enhance AI, and Relight AI turn complex jobs—like replacing a boring sky or fixing bad lighting—into a simple, satisfying task.
- Intuitive Presets: It comes with a huge collection of "looks" that give you an instant creative direction. You can apply one and then tweak it to make it your own.
- User-Friendly Interface: The layout is minimalist and uncluttered. It cleverly uses colour-coded sections to guide you through the editing process.
Luminar Neo is perfect for the hobbyist who wants their photos to look amazing, right now. It puts speed and simplicity first, letting the AI handle the technical stuff so you can focus on being creative.
Adobe Photoshop Elements: The Guided All-Rounder
Adobe is the undisputed giant of creative software, and Photoshop Elements is their answer for anyone who finds the full-blown Photoshop a bit much. It takes many of Photoshop’s most powerful features and wraps them in a much friendlier package for everyday users.
Its real genius is in its three editing modes: Quick, Guided, and Expert. Quick mode gives you simple sliders for common fixes. The Guided mode is where the magic happens for learners; it walks you step-by-step through cool effects, like creating a double exposure or making an unwanted object vanish. This structure lets you grow at your own pace.
Unlike Adobe's main subscription model, Photoshop Elements is a one-time purchase. This is a huge plus for anyone who just wants to own their software without another monthly bill. It's a rock-solid, reliable choice that gives you a clear path from simple tweaks to genuinely impressive creative work.
Polarr: The Accessible and Fun Starting Point
Polarr is a fantastic gateway into photo editing, mainly because its free version is surprisingly powerful. It’s available on almost everything—Windows, Mac, mobile, and even as a web editor—so you can use it on whatever device you have handy.
The interface is refreshingly simple, showing you the essential tools without any clutter. This makes it one of the easiest programs to pick up, letting you get comfortable with the fundamentals like exposure, contrast, and colour before moving on. Polarr is also famous for its massive library of user-created filters, which is a fun way to experiment with different styles.
While the free version is plenty to get you started, a super-affordable Pro subscription unlocks more advanced tools like masks for selective edits and RAW file support. If you want to dive into photo editing without spending a cent, Polarr is tough to beat.
To get a broader view of the options out there, a detailed guide on finding the best photo editing software can help match a tool to your specific goals. And if you're branching out into video, rounding out your toolkit with the best screen recording software is a great next step.
Beginner Photo Editing Software Comparison
To make things even clearer, here’s a quick side-by-side look at how these three contenders stack up for a beginner.
| Software | Best For | Key Features for Beginners | Pricing Model (AU) | Learning Curve |
|---|---|---|---|---|
| Luminar Neo | Fast, impressive results with AI assistance | One-click AI tools, presets, non-destructive workflow | One-time purchase or subscription | Very Low |
| Adobe Photoshop Elements | Structured learning and a clear growth path | Guided Edits, multiple editing modes, Organiser | One-time purchase | Low to Medium |
| Polarr | Accessibility and experimenting without commitment | Free version, user-created filters, cross-platform | Freemium with affordable Pro plan | Very Low |
Ultimately, the right choice depends on your personal style. Do you want AI to help guide you, a structured program to grow with, or a free tool to experiment with? Any of these three will set you on the right path.
Understanding Software Costs and Subscriptions
Let's talk about the price tag. When you're just starting out, the cost of photo editing software is a huge factor, and navigating the different payment models can feel a bit confusing. Getting your head around these options is key to making a smart investment without any nasty financial surprises down the track.
You'll mainly come across two ways to pay: a one-time purchase or an ongoing subscription. Each has its pros and cons, and the best fit for you really depends on your budget and how serious you plan on getting with your new hobby.
One-Time Purchase vs Subscription Models
A one-time purchase is exactly what it sounds like. You pay once, and you own that version of the software forever. It’s a great model if you prefer a single, upfront cost and hate the idea of another monthly bill. This gives you predictability and the freedom to use the software for years, though you might have to pay again for a major version upgrade down the line.
On the flip side, subscriptions are everywhere now. You pay a monthly or annual fee for constant access to the latest and greatest version of the software, including all updates, cool new features, and customer support. This approach lowers the initial barrier to entry and guarantees you're always working with the most current tools.
For beginners, the decision often comes down to what feels better financially. A one-time fee offers peace of mind, while a subscription gets you access to professional-grade tools for a low initial cost, making it easier to jump in right away.
Recent pricing shifts in Australia show just how much things are changing. Adobe, one of the biggest names in the game, recently bumped its popular Photography Plan from AUD 14.29 to AUD 23.99 per month. Even with a 68% price hike, Adobe Creative Cloud still has nearly 30 million subscribers worldwide, which shows just how strong the subscription model is. You can read more about these Adobe subscription changes on Lightroom Queen.
However, this trend has also pushed many Aussie newcomers to look for more affordable alternatives that they can buy outright.
This decision tree infographic can help you visualise the key questions to ask yourself, zeroing in on price, platform, and the features you can't live without.
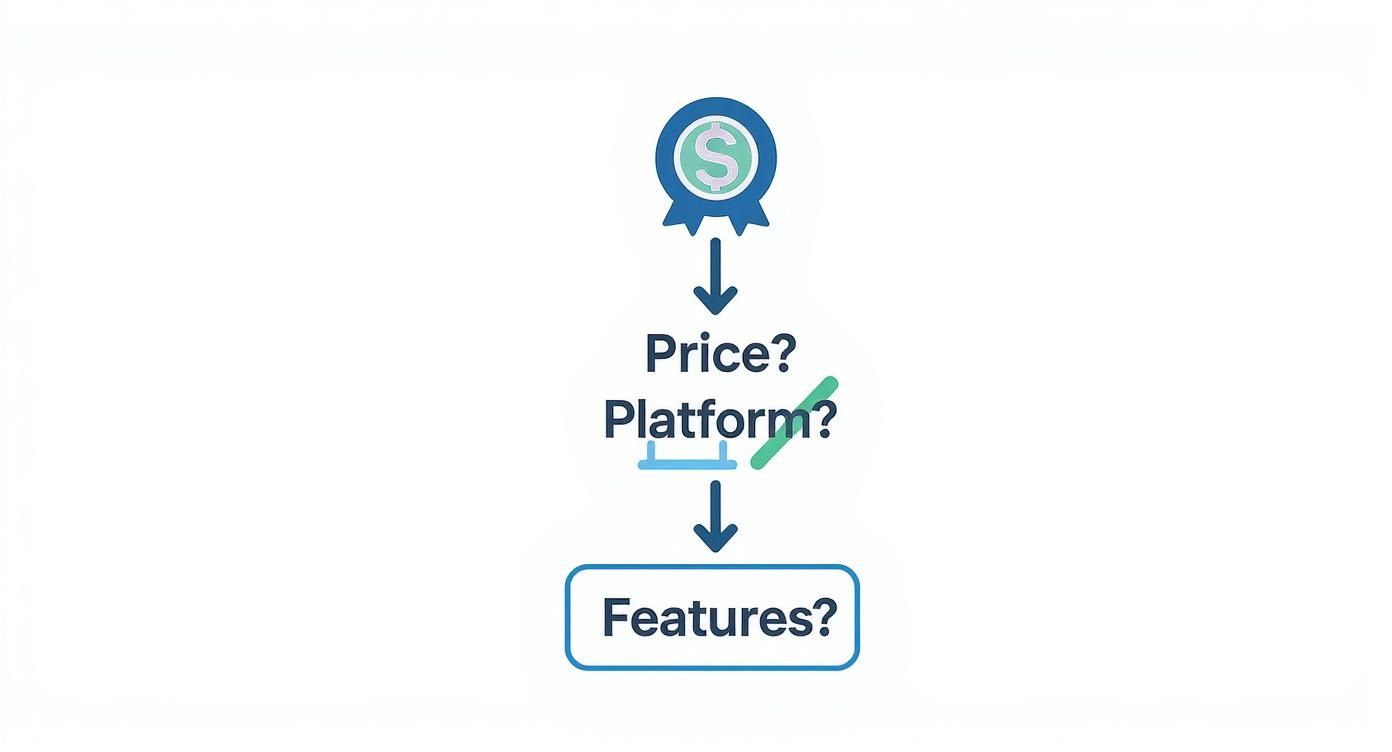
As the infographic shows, your budget is often the first and most important filter for narrowing down your choices.
Free and Freemium Options
Don't forget about free software! Many programs use a "freemium" model, giving you a solid set of basic tools for free and the option to unlock more advanced features with a paid upgrade. This is a brilliant, risk-free way to learn the ropes of photo editing.
And if you're building a new PC for your editing adventures, make sure you've got the right operating system to power it. It's worth exploring your options for a Windows 11 Pro license to get the best performance out of your new setup.
Why Mobile Editing Apps Are a Game Changer
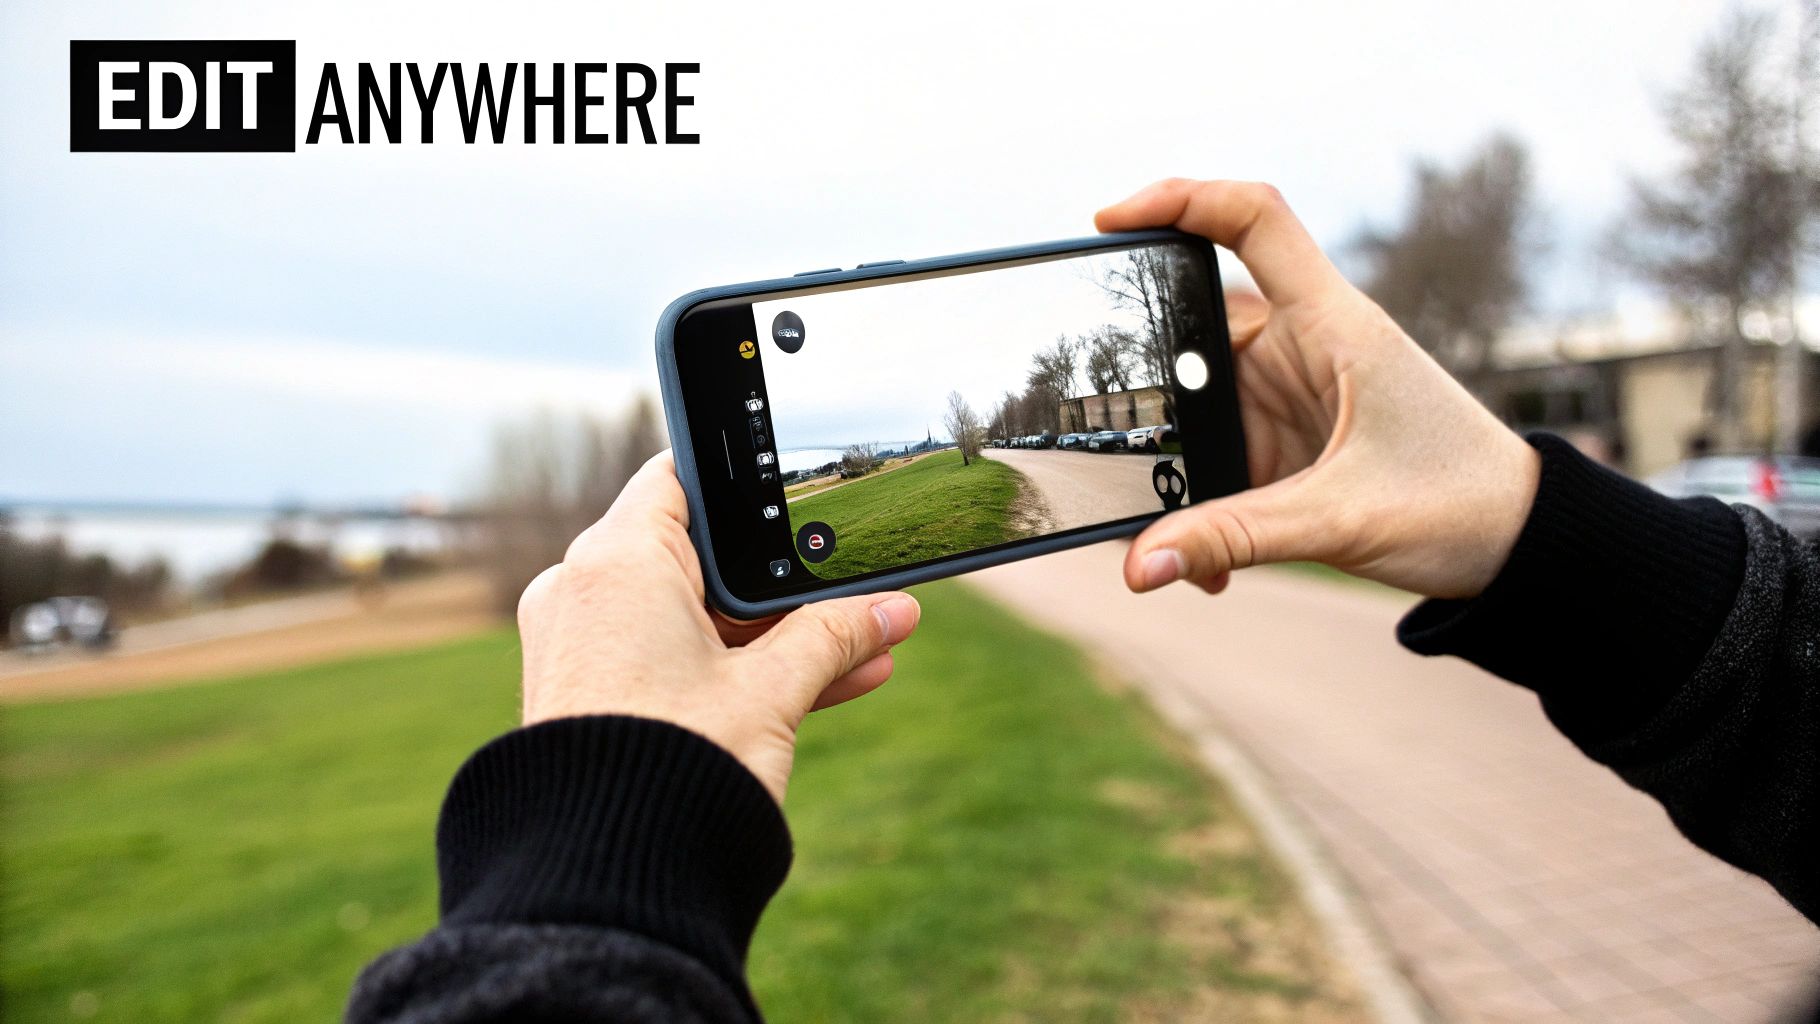
Not too long ago, serious photo editing was chained to a desk. Today, the creative studio you need fits comfortably in your pocket. While desktop software is still fantastic, the rise of powerful mobile editing apps has completely changed the game for beginners and professionals alike. Your smartphone is no longer just a camera; it’s a formidable editing suite.
This shift lets you make quick adjustments, apply creative filters, and share your finished images directly to social media, all within moments of capturing the shot. That kind of convenience is a massive advantage for anyone who wants to edit their photos anywhere, at any time.
The growth of mobile editing in Australia is part of a much bigger trend. With smartphone adoption rocketing past 88% among Australian adults in 2024, the demand for high-quality photo apps is surging. In fact, the Asia Pacific Photo Editing App market was valued at around USD 73.88 million in 2024 and is on a steady upward climb.
The Power of On-the-Go Editing
Think of mobile apps as the perfect partner to your desktop software. They truly shine at tasks that need to be done quickly, turning those idle moments—like your daily commute or waiting for a coffee—into productive editing sessions.
Many top-tier mobile apps now pack features that were once exclusive to desktop programs. You can perform detailed colour correction, use selective adjustment masks, and even do sophisticated retouching with nothing more than an intuitive touch interface. This accessibility makes learning the fundamentals of editing far less intimidating.
For many beginners, a mobile app is the ideal entry point into photo editing. It removes the barrier of needing a powerful computer and allows you to experiment with core concepts using the device you already own and love.
Bridging the Gap Between Mobile and Desktop
A seamless workflow is everything for modern creators. The best photo editing software for beginners often includes both a desktop version and a mobile app that sync and work together. This integration is a game changer, letting you start an edit on your phone and then fine-tune it later on your computer’s larger screen.
This hybrid approach really offers the best of both worlds:
- Convenience: Make quick, high-quality edits and share them instantly right from your phone.
- Power: Switch to your desktop for more detailed work that requires precision and a bigger display.
- Consistency: Your edits, presets, and photos are synchronised across all your devices, keeping your creative style perfectly consistent.
For mobile users looking for powerful yet simple tools, exploring the best AI photo apps can be a real eye-opener. Artificial intelligence is making professional-level results more accessible than ever, and it’s this blend of power and simplicity that truly makes mobile editing a force to be reckoned with.
Common Photo Editing Questions Answered
Choosing the right tool is a huge step, but it often brings up a few last-minute questions. It’s completely normal to have some final uncertainties, so let’s clear up a few of the most common ones that newcomers ask.
Getting these last few doubts out of the way will give you the confidence to jump in and start creating.
Do I Need an Expensive Computer to Edit Photos?
Absolutely not. While the high-end software you see professionals use can be demanding, most programs designed for beginners are optimised to run smoothly on standard, everyday computers and laptops. You definitely don’t need a top-of-the-line machine to get started.
Many modern options, especially the cloud-based ones, are built to perform well without needing a beast of a machine. Before you commit, it’s always a good idea to check the software’s website for its "system requirements" just to be sure it’s a good match for your device.
The key is compatibility, not raw power. Most beginner software prioritises accessibility, meaning your current computer is likely more than capable of handling the job.
It’s also wise to make sure your digital life is secure right from the start. Protecting your accounts is crucial, and you can learn more about how to do that by understanding what two-factor authentication is and why it’s so important.
What Is Non-Destructive Editing and Why Does It Matter?
Think of non-destructive editing as your creative safety net. It means that any changes you make—like adjusting brightness, cropping, or tweaking colours—are saved as a separate layer of instructions.
Your original photo file remains completely untouched and pristine. This approach is fantastic because it allows you to undo changes, adjust your edits days later, or even start over from scratch without ever damaging the original image.
In contrast, destructive editing permanently changes the pixels in your file, which is far less forgiving. As a beginner, always, always choose software that uses a non-destructive workflow. It gives you the freedom to experiment and learn without the fear of making irreversible mistakes.
Should I Start Shooting in RAW Format?
Yes, it's a fantastic habit to get into right from the start. A RAW file is like a digital negative; it captures all the unprocessed data directly from your camera's sensor. This gives you a massive amount of information to work with when you start editing.
A JPEG, on the other hand, is a compressed file that has already been processed by your camera. This means the camera has made its own decisions about sharpness, colour, and contrast for you, effectively taking away some of your creative control.
Here’s why shooting in RAW gives you a huge advantage:
- Greater Flexibility: You have far more control over adjusting exposure, recovering details from deep shadows or bright highlights, and fine-tuning colours.
- Higher Quality: Since no data is thrown away through compression, you’re starting your edit with the highest possible quality source file.
- Future-Proofing: As editing software gets better over time, you can go back and re-process old RAW files with new tools to achieve even better results.
While RAW files do take up more storage space, the superior editing potential they offer is well worth it for anyone serious about improving their photography.
At Digital Hub Key, we provide genuine, affordable software licences to get your creative journey started on the right foot. Find the perfect tools for your PC at https://digitalhubkey.com and start editing today.